
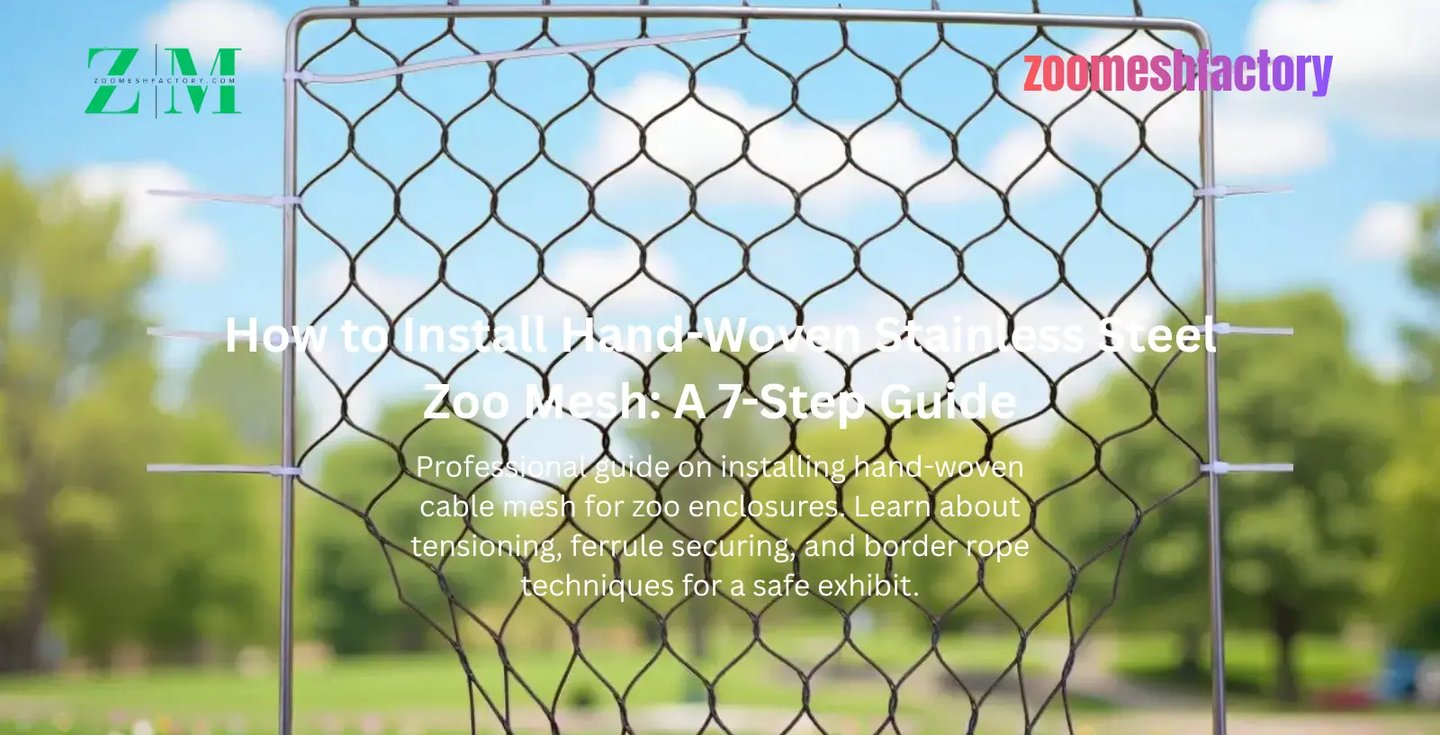
How to Install Hand-Woven Stainless Steel Zoo Mesh: A 7-Step Guide
Professional guide on installing hand-woven cable mesh for zoo enclosures. Learn about tensioning, ferrule securing, and border rope techniques for a safe exhibit.
Hebei Zoo Mesh Co., Ltd
4/23/20268 min read
The Installation Secret: Successful installation of hand-woven stainless steel zoo mesh requires a focus on structural tensioning and border attachment. Unlike rigid welded wire, cable mesh is flexible (like a fabric) and must be secured to a perimeter frame—usually using a stainless steel border rope or rod system. The key steps include: 1. Frame Inspection, 2. Mesh Orientation, 3. Perimeter Attachment, 4. Initial Tensioning, 5. Fine Tuning, and 6. Final Inspection for animal safety.
I. Introduction: The Art and Science of Mesh Tension
In the zoo industry, a high-quality product is only as good as its installation. You can buy the finest 316-grade stainless steel cable mesh in the world, but if it is installed incorrectly, it will sag, lose its structural integrity, and create potential hazards for your animals.
We often tell our clients: The mesh itself is only half the product; the tensioning system is the other half. Installation accounts for 50% of an enclosure's final strength.
There is a fundamental difference between "hanging" a net and "tensioning" a mesh system. Hanging suggests gravity is doing the work—this leads to loose pockets where animals can get stuck. Tensioning, however, is a calculated process of distributing structural load across the entire perimeter frame, turning a bundle of cables into a rigid, resilient, and virtually indestructible barrier.
Before you begin, safety is the primary requirement. This is not a "hardware store" DIY project; this is structural engineering. You will need a professional toolkit to ensure the longevity of your enclosure:
Heavy-duty cable cutters (for precise, fray-free ends)
Swaging tools (to secure ferrules with factory-level precision)
Turnbuckles and tensioners (to achieve that drum-tight finish)
II. Pre-Installation: Preparing the Frame
Before a single roll of mesh is unboxed, your foundation must be rock-solid. A common mistake we see is assuming the existing frame can handle the loads of a high-tension cable system.
Structural Integrity: Can Your Frame Handle the Pull?
When you tension stainless steel cable mesh, you are essentially exerting a consistent, pulling force against your perimeter structure. If your frame is made of thin-walled piping or has loose joints, that tension will cause the frame to bow or buckle over time. Before installation, perform a load-bearing inspection of all uprights, cross-beams, and anchor points. If you are attaching to concrete, ensure your anchor bolts are rated for high-tension pull-out forces.
The Galvanic Corrosion Check
Because stainless steel is a noble metal, it can react negatively when in direct, long-term contact with certain lower-grade metals, especially in humid or salty zoo environments. This is known as galvanic corrosion.
The Fix: Ensure all connection points—whether they are rods, perimeter cables, or direct bolt-ons—are insulated or made of compatible stainless steel components.
Clean the Perimeter: Remove any rust, debris, or chemical residues from the frame surface before attachment. A clean surface not only ensures a stronger bond but prevents the migration of contaminants that could eventually mar the aesthetic finish of your mesh.
Need to calculate how much material you need to cover your specific frame dimensions?
Need help with measurements? Check our product specification page to calculate the required mesh area for your custom project.
III. Step-by-Step: The Installation Process
Installing hand-woven zoo mesh is an orderly process. If you rush the setup, you will be fighting the mesh for the rest of the installation. Follow these steps to ensure a professional-grade finish.
1. Unrolling and Direction
Before you lift the mesh, identify your "diamond direction." Hand-woven mesh is anisotropic; it behaves differently depending on the orientation. If you pull it vertically, the diamonds elongate; pull it horizontally, and they widen. Determine your orientation based on the zoo's design specifications—ensure the diamonds are consistent across all panels to avoid a chaotic, "wavy" look that screams amateur installation.
2. The Border Connection
How you attach the mesh to the frame determines the exhibit's security.
Border Ropes: The most common method. Thread a stainless steel perimeter rope through the outermost diamonds and secure it to the frame with tensioners. This distributes the load evenly.
Lacing Wires: For smaller panels or specific architectural curves, manual lacing is preferred. It allows for a tighter, more precise attachment to irregular frames.
3. The Swaging Process
The ferrules (sleeves) are the heart of your mesh's strength. When securing them, use a high-quality hydraulic swaging tool. Never "guess" the pressure—ensure your tool is calibrated to the specific diameter of your wire rope. A properly swaged ferrule should have a clean, uniform profile without sharp burrs that could snag an animal’s claws or fur.
4. Uniform Tensioning
This is the "Aha!" moment. Once the mesh is attached, tighten your tensioners gradually. Move in a circular pattern around the frame, rather than tightening one corner completely. This prevents "puckering"—those unsightly bulges where the mesh hasn't been allowed to stretch naturally. Aim for a drum-tight consistency where every diamond across the panel is uniform.
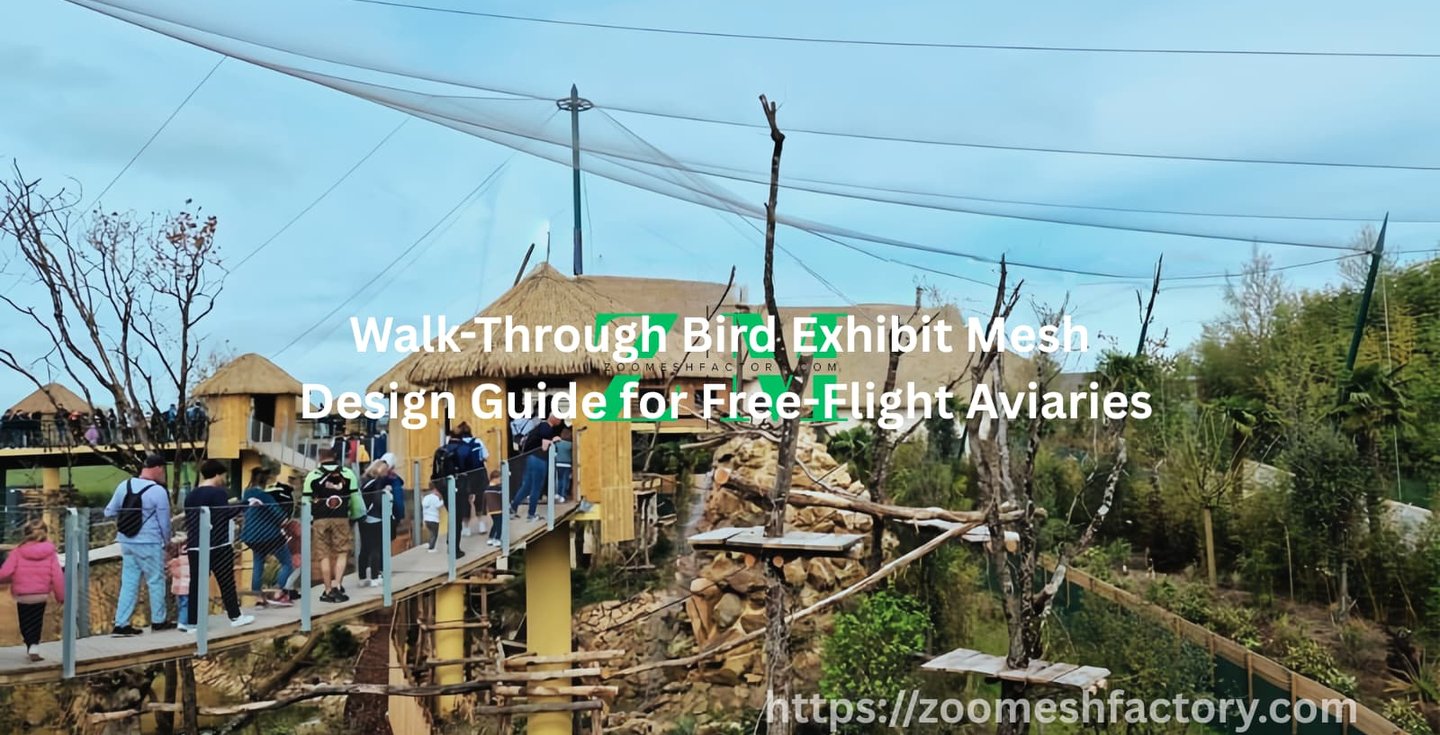
Need to know the load limits for an aviary roof? For overhead installations, see our aviary netting page for specific height and weight considerations.
IV. Specialized Techniques for Large Animals
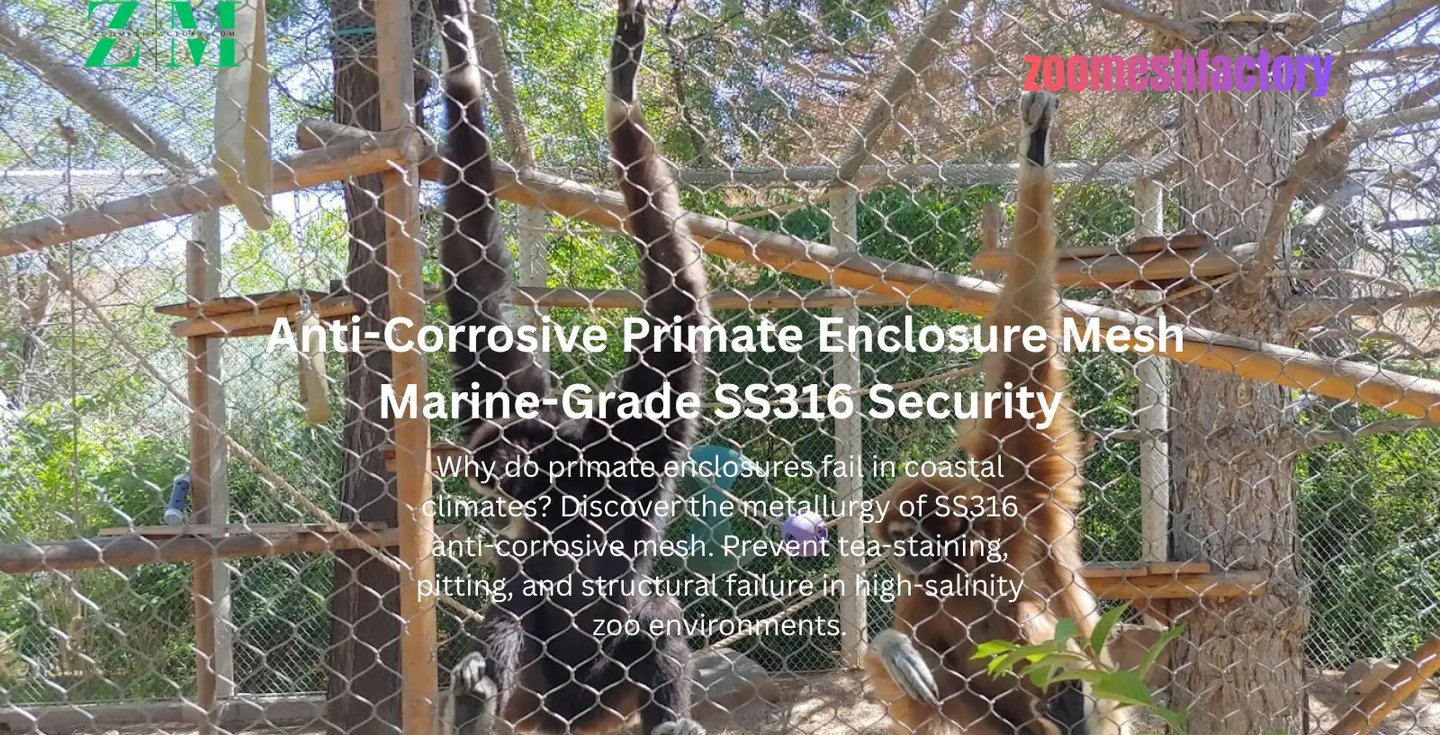
When your enclosure houses big cats, primates, or great apes, you aren't just building a barrier; you are building an impact-resistant wall. These animals don't just lean—they jump, swing, and occasionally test the perimeter.
Double-Bordering for High-Impact Zones
In areas where animals are likely to impact the mesh (such as near climbing platforms or feeding stations), we recommend Double-Bordering. This involves running two perimeter cables through the edge diamonds instead of one. It essentially creates a redundant structural system. If one line were ever compromised (though unlikely with stainless steel), the second line holds the load, preventing any localized tearing.
Seamless Joining
One of the most common mistakes is trying to overlap panels, which creates a thick, ugly "seam" that is easy for primates to grip. Instead, use a "seamless lacing" technique. By using a specialized lacing wire, you can "weave" two panels together so that the resulting joint is visually and structurally identical to the rest of the mesh. It makes the exhibit look like one continuous piece, removing the "grip points" that primates love to exploit to climb or pull at.
Want to know why professional zoos are ditching old-school fencing? Discover why our animal enclosure netting is easier to install and infinitely more durable than rigid chain-link.
V. Common Mistakes to Avoid
Even with the best materials, poor execution can undermine your project. We’ve seen hundreds of installations; these are the two "cardinal sins" of cable mesh assembly that you must avoid.
1. Over-Tensioning: The Risk of Frame Deformation
There is a temptation to make the mesh as tight as a guitar string, but stainless steel cable mesh has its limits. If you overtighten the turnbuckles, you place extreme lateral pressure on your perimeter frame. In many cases, this doesn't break the mesh—it breaks the frame. We have seen steel support posts bow inward under the pressure of excessive tension. Always check the manufacturer’s recommended tension specs and use a tension gauge during the final adjustment phase.
2. Under-Tensioning: The Danger of "Sag"
Conversely, under-tensioning is a massive safety hazard. A mesh that isn't pulled taut will develop "sag" pockets, especially along the bottom of the enclosure. In a zoo environment, these pockets act as "nooks" where an animal—particularly a smaller primate or a bird—can get a limb or head trapped during a moment of play or panic. If the mesh isn't drum-tight, it isn't finished.
Don’t waste your budget on a project that fails within a few years due to poor planning. Read our analysis on why stainless steel vs galvanized zoo netting cost is about lifetime value, not just the upfront quote.
Proper tensioning and correct edge-fixing are the most critical factors in preventing enclosure sagging and ensuring a seamless, invisible barrier; you can find step-by-step installation instructions and factory-direct procurement tips in our ultimate guide to zoo netting.
VI. Maintenance and Post-Install Inspection
The installation doesn’t end when the crew packs up their tools. A professional zoo enclosure requires a "break-in" period and ongoing, systematic inspection to ensure the safety of your collection.
Checking for "Play" After 30 Days
Steel cable, like any high-tensile system, will undergo a slight "initial stretch" during the first few weeks after the full tension load is applied. After the first 30 days, we highly recommend a 30-day follow-up inspection. During this check, walk the perimeter and look for any newfound "play" or slack in the border ropes. A simple turn of the turnbuckles can often reset the tension, ensuring the mesh remains secure for the next decade.
Ensuring Knots and Ferrules Remain Smooth
Zoo enclosures are living environments. Heavy use, weather changes, and even minor animal interactions can occasionally affect the mesh surface. During your quarterly inspections, run a gloved hand along the ferrules and cable knots. You are checking for two things:
Ferrule Integrity: Ensuring no sleeves have shifted or loosened.
Surface Smoothness: Confirming that no sharp edges have developed due to unforeseen physical stress.
This proactive approach is what separates a world-class, sustainable zoo exhibit from a high-maintenance liability.
Sustainable zoo design requires materials that last. Learn more about the circular lifecycle of our products in our guide to sustainable zoo enclosure materials.
VII. FAQ: Common Questions from Zoo Installers
We frequently assist project managers and maintenance teams with technical questions during the installation phase. Here are the most common inquiries we receive.
1. Do I need a professional crew to install stainless steel cable mesh?
For small-to-medium exhibits, a skilled maintenance team with proper training in cable tensioning can handle the installation. However, for large-scale flight aviaries or high-impact predator enclosures, we strongly recommend a professional crew experienced in stainless steel rigging to ensure structural safety and proper ferrule swaging.
2. What tools are required for hand-woven mesh installation?
Aside from standard safety gear, you will need high-leverage cable cutters (for a clean, non-frayed cut), a hydraulic swaging tool for securing ferrules, and heavy-duty tensioners (turnbuckles). We provide a specific technical tool list with every shipment based on your mesh diameter.
3. How do I patch a hole in the mesh if it’s damaged by a falling tree?
The beauty of hand-woven mesh is its modular repairability. You do not need to replace an entire panel. You can insert a "patch" section of the same mesh specification and weave it into the existing grid using specialized lacing wire. Once completed, the repair is structurally identical to the original install.
4. Is the mesh slippery for climbing animals?
No. The cables provide excellent surface friction for primates and cats to climb safely. The mesh is designed to be a "functional surface" rather than a slick barrier, which encourages natural animal behavior while maintaining a secure enclosure.
5. How long does the installation of a large enclosure take?
Installation time depends on the frame design and panel size. Because our panels are custom-fabricated to fit your frame, the on-site "assembly" is significantly faster than traditional chain-link or rigid wire. Many of our clients report a 30-40% reduction in labor hours compared to traditional welding methods.
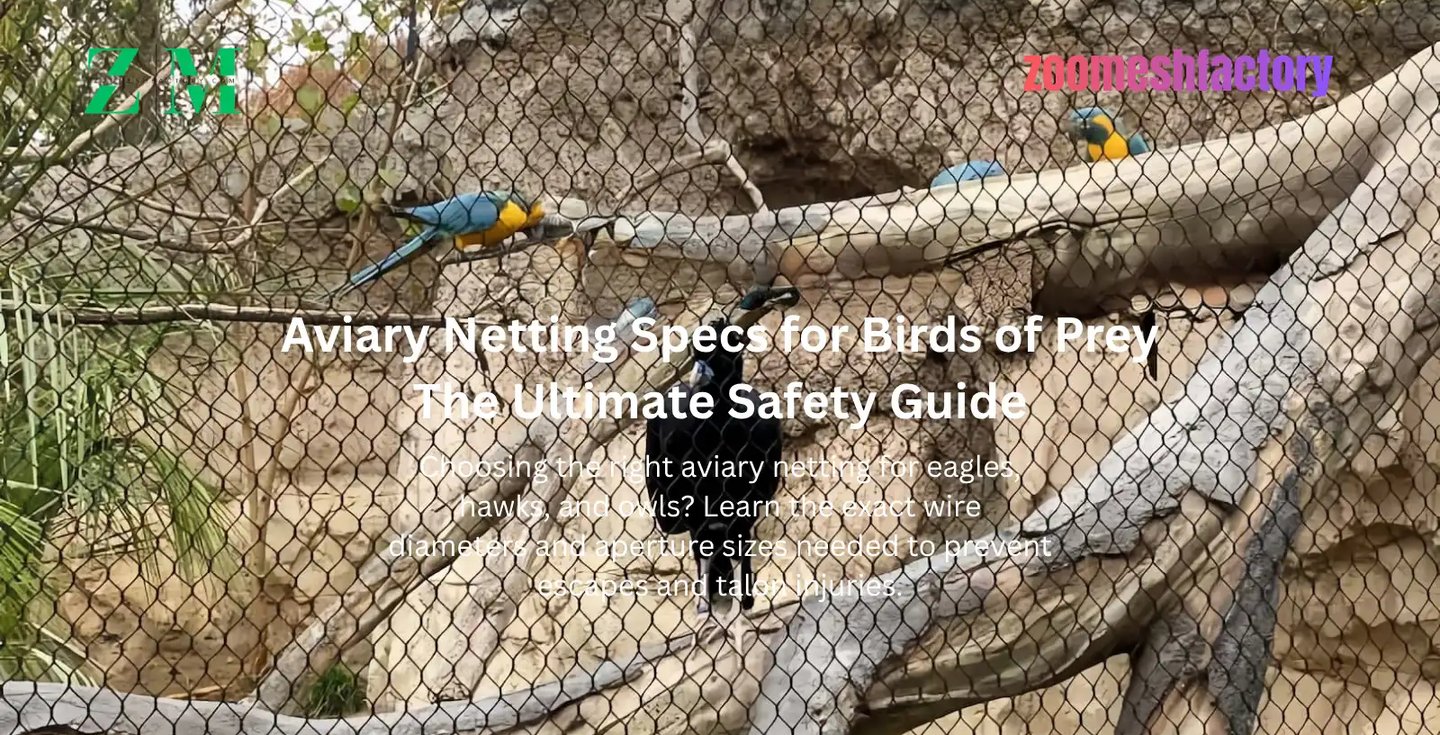
Need specific specs for your raptor enclosure? See our expert guide: best zoo aviary netting specifications.
For pricing on custom panels, view our wholesale zoo netting price per square meter.
Ready to Start Your Exhibit Design?
Join the hundreds of zoos and sanctuaries worldwide that trust ZooMesh Factory for their containment needs. Our engineers are ready to help you calculate the perfect mesh size for your species.
Contact
Hebei Zoo Mesh Co., Ltd
No. 188 Zhonghua South Street, Shijiazhuang City, Hebei Province, China
info@zoomeshfactory.com
© 2025. All rights reserved.
Quick Link
Product Catalogs
Don't leave without the specs! Save our factory-direct pricing and technical configurations for your next project meeting. Our 2026 Zoo Mesh Factory Direct Catalog is ready for download.